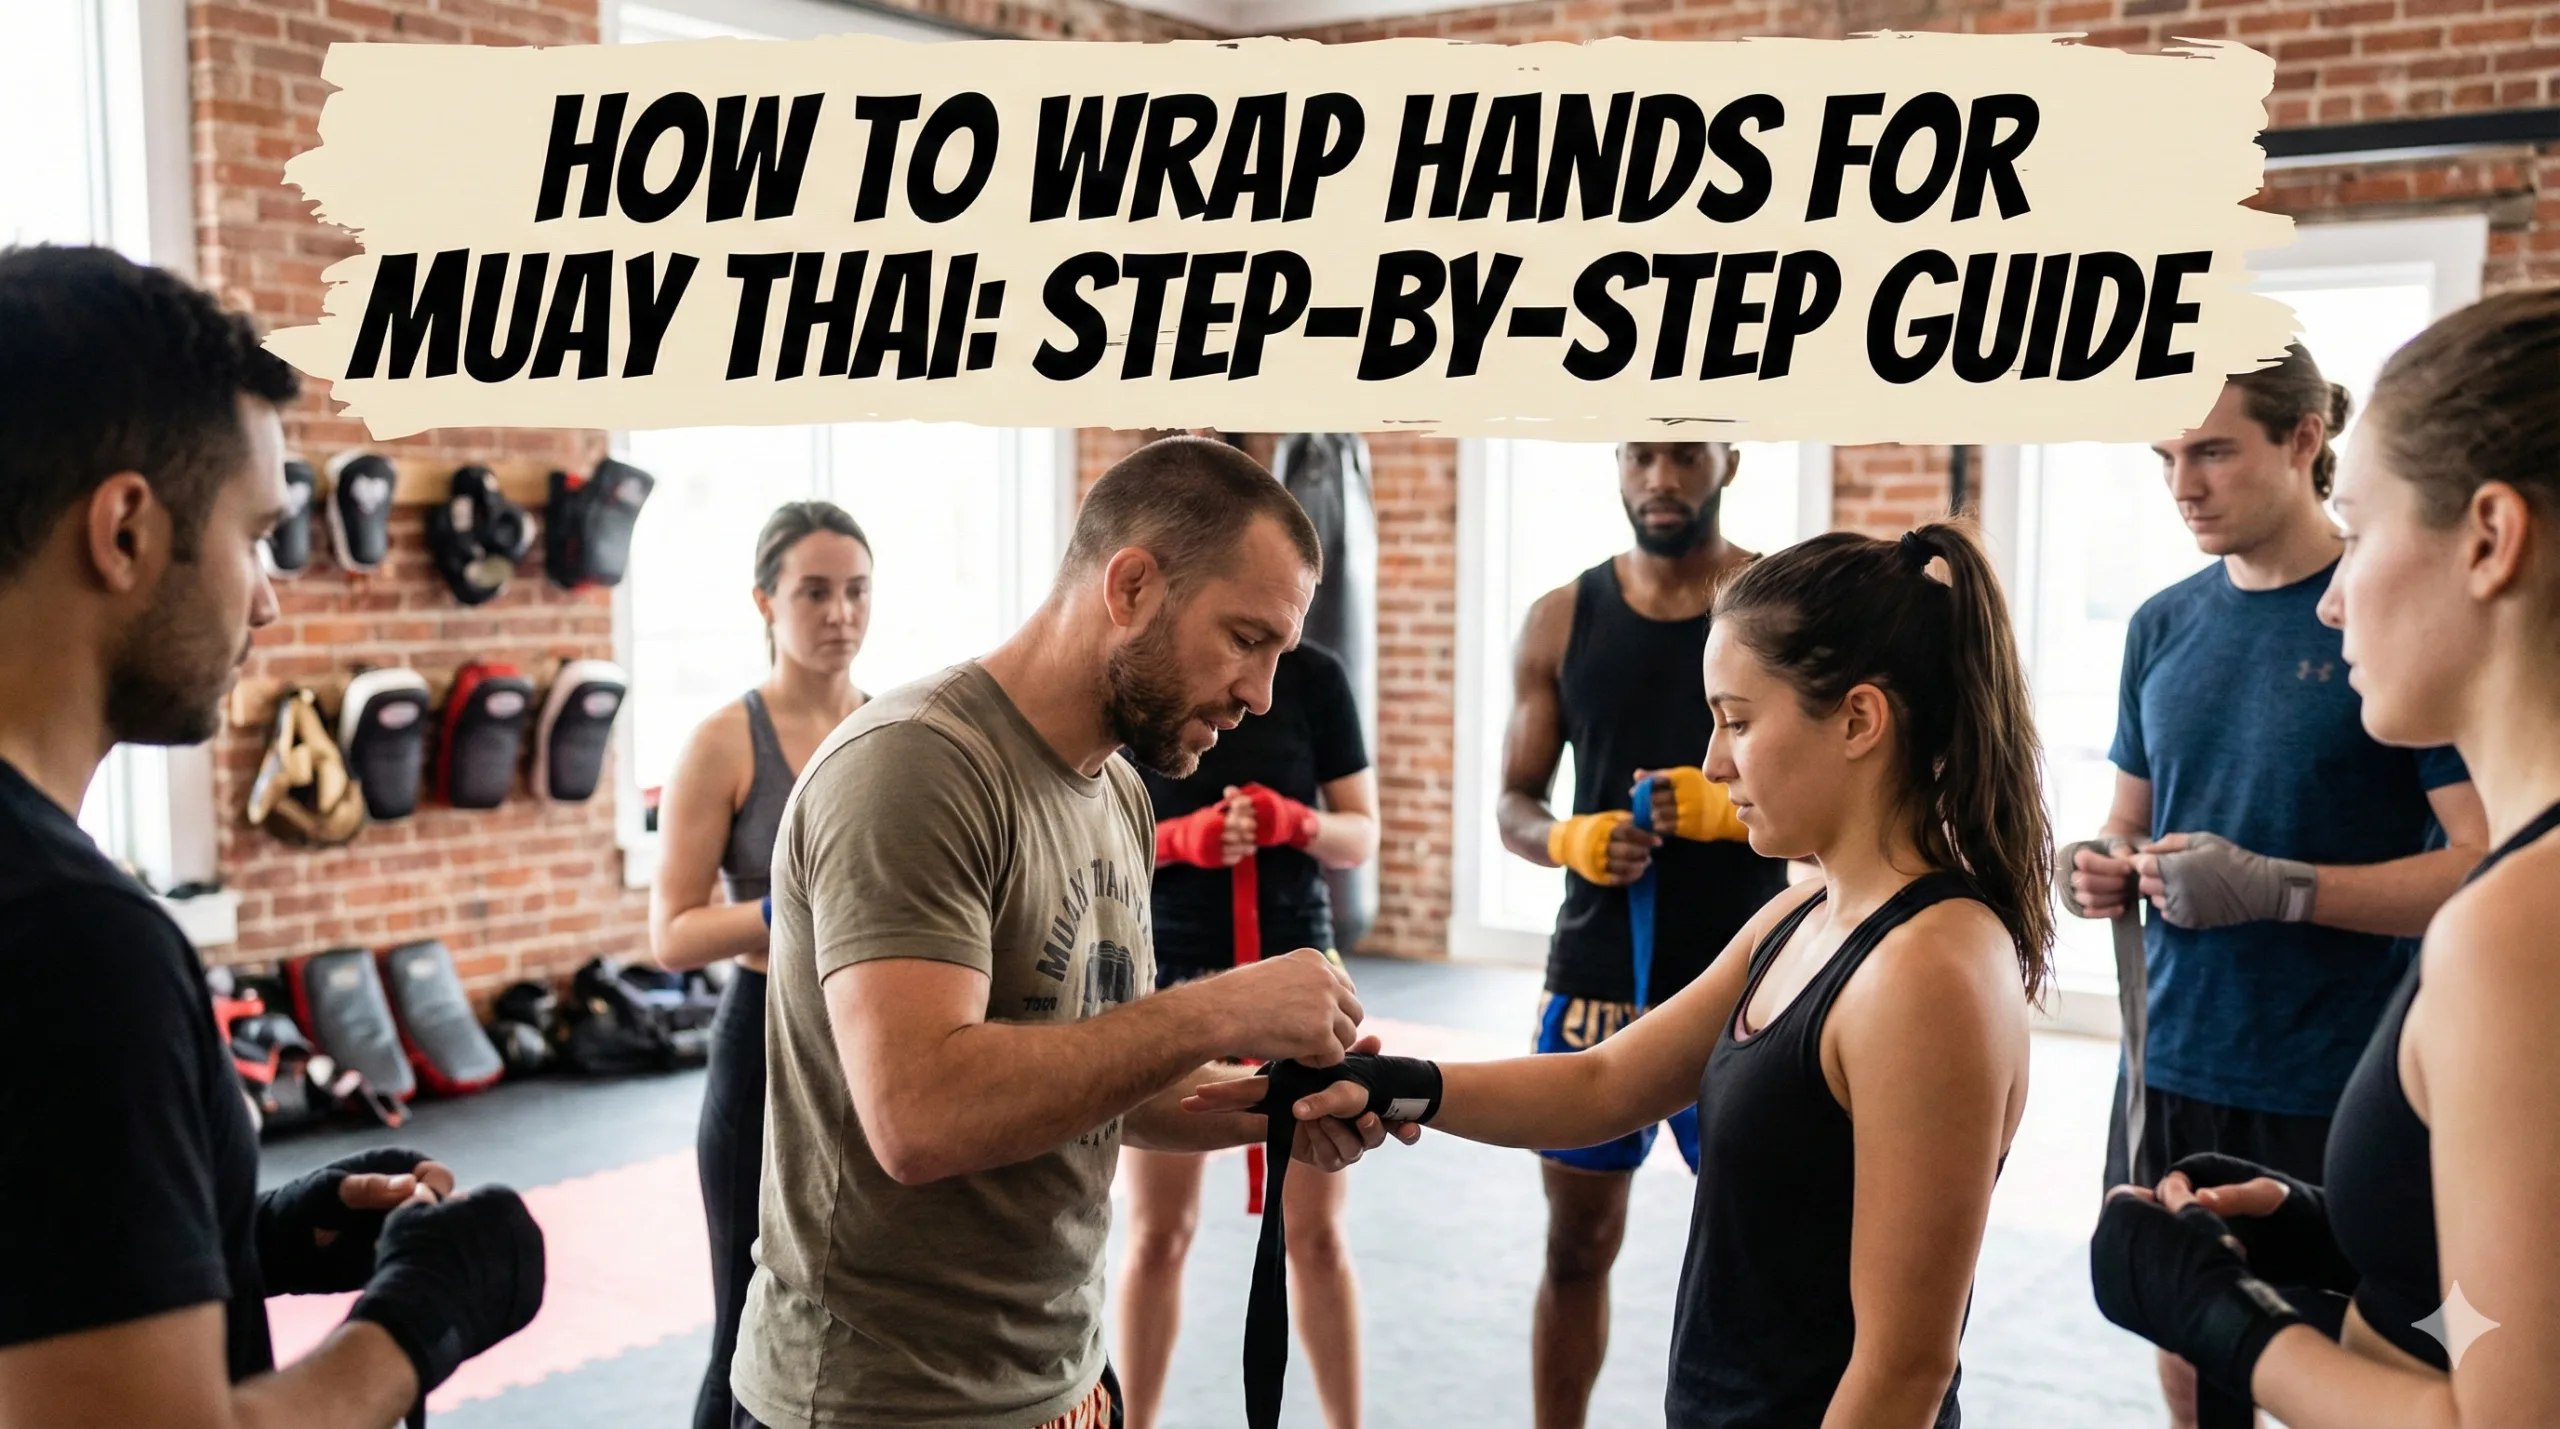
How to Wrap Your Hands for Muay Thai: Step-by-Step Guide (No More Wrist Pain)
You wouldn’t drive a car without a seatbelt, right? So don’t hit the heavy bag without wrapping your hands.
Many beginners think hand wraps are just for “cushioning” the knuckles. They are wrong. The main purpose of hand wraps is to cast your hand into a solid block. This prevents your tiny wrist bones and knuckles from moving around and breaking upon impact.
In this guide, I will teach you the Standard Thai Wrap. It offers the perfect balance of knuckle protection and wrist support, suitable for beginners and pros alike.
What You Need
Before we start, make sure you have the right gear.
-
Length: Get 180-inch (4.5 meters) wraps. Do not buy the 120-inch ones—they are too short for an adult hand.
-
Material: Semi-elastic (Mexican style) is best. It stretches slightly to fit your hand shape.
-
Recommended Brands: Fairtex or Top King make the best elastic cotton wraps.
-
> [Get Fairtex Hand Wraps on Amazon]
-
The Step-by-Step Guide (Standard Thai Style)
[Insert YouTube Video: “Muay Thai Hand Wrapping Tutorial” here]
Follow these steps carefully. Keep your hand open and fingers spread wide the entire time (this prevents the wrap from being too tight when you make a fist).
Step 1: The Anchor (Wrist)
Loop the thumb loop over your thumb. Important: Make sure the “This Side Down” label is facing your skin.
-
Wrap around your wrist 3 times.
-
Why? This creates a solid base for wrist support.
Step 2: The Knuckles
Pull the wrap up across the back of your hand to your knuckles.
-
Wrap around your knuckles 3 times.
-
Tip: Keep the wrap below the first knuckle joint so you can still make a proper fist.
Step 3: Between the Fingers (The “X”)
Now we lock the fingers in place.
-
Bring the wrap down under your wrist, then up between your pinky and ring finger.
-
Pull it across your palm and back around the wrist (creating an “X” on the back of your hand).
-
Repeat for the ring and middle finger.
-
Repeat for the middle and index finger.
Step 4: Lock the Thumb
Don’t forget the thumb! A jammed thumb is a common injury in Muay Thai.
-
Wrap once fully around the thumb to lock it to the hand.
Step 5: The Finish
Use the remaining length of the wrap to go back around your knuckles once more (for extra padding) and then finish everything else around your wrist.
-
Secure the Velcro strap tightly.
How to Know if It’s Right?
-
Open your hand: It should feel comfortable, not cutting off blood circulation.
-
Make a fist: It should feel tight and solid instantly. If your hand feels loose inside the wrap when you squeeze, re-wrap it tighter.
Common Mistakes to Avoid
-
Wrapping too tight: If your fingers turn purple or tingle, take it off immediately!
-
Wrong side down: If the Velcro is upside down at the end, you started with the wrong side against your skin. twist it at the wrist to fix it.
-
Not spreading fingers: If you wrap with a closed fist, the wrap will be painfully tight once your hand expands.
Conclusion
Wrapping your hands is a ritual. It helps you mentally prepare for the battle ahead. Practice this method at home while watching TV until you can do it without looking.
Protect your hands today so you can keep training tomorrow.